Create Your Own Image
This section will guide us how to create image so it’s recognized by pic and we can combine them using
it. There are some requirements that need to be fulfilled:
The name must have
.pngsuffixThe image is in PNG format
Use transparent background for each image except for one that will be used as background
Use the same resolution for all images
Group image in a folder
Note
This section requires you to get through Getting Started first
Drawing
Use your preferred drawing tool, in this section I’m using Inkscape for demo purpose.
I’m not an artist nor affiliated with Inkscape.
Let’s draw something simple, a square.
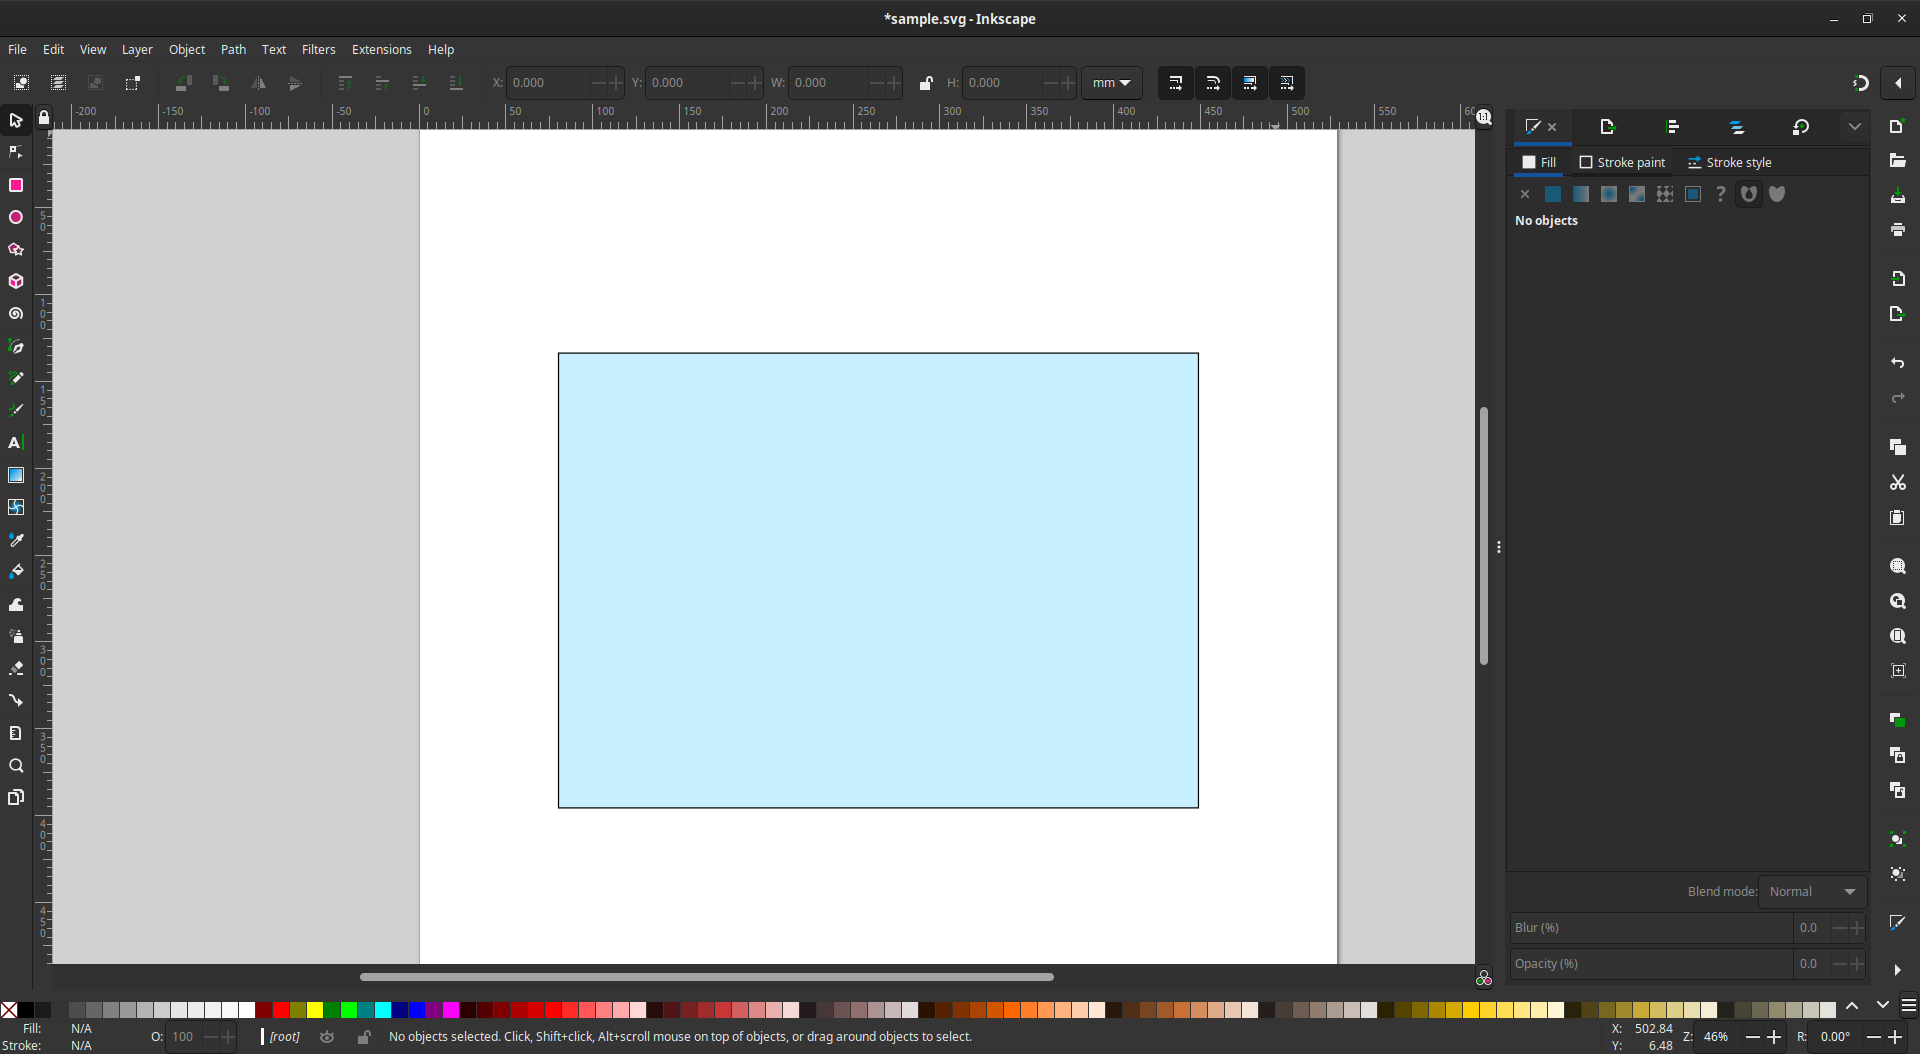
Let’s say we want this to be the first layer (bottom layer) of the image. We can save the image as PNG and name it as Blue.png.
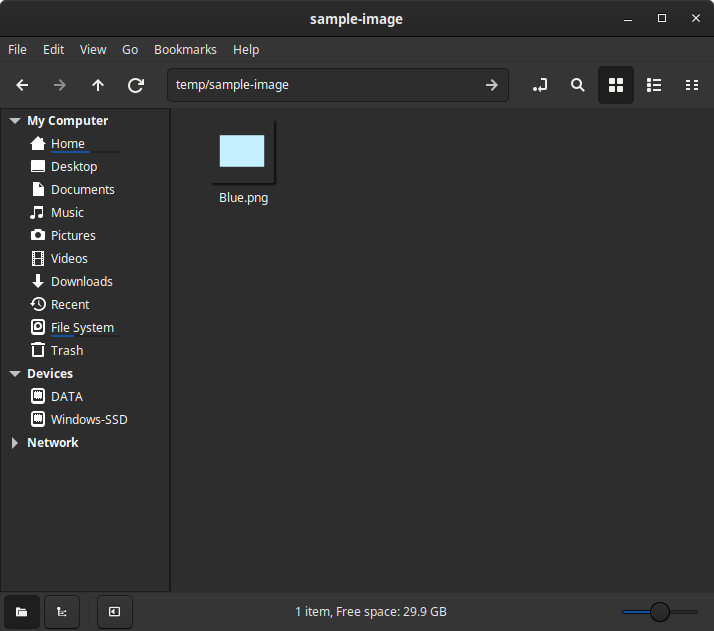
We already have one image, let’s create 1 more. This time, a gray square and save it as Gray.png.
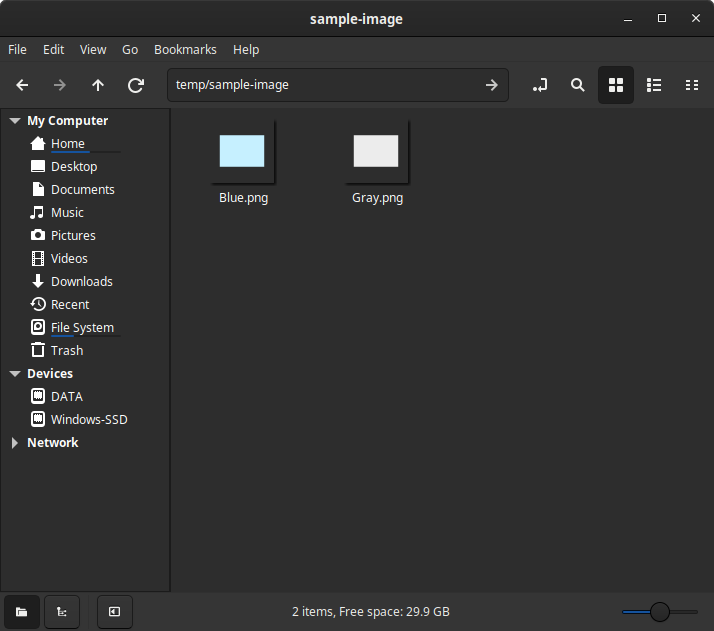
Saving
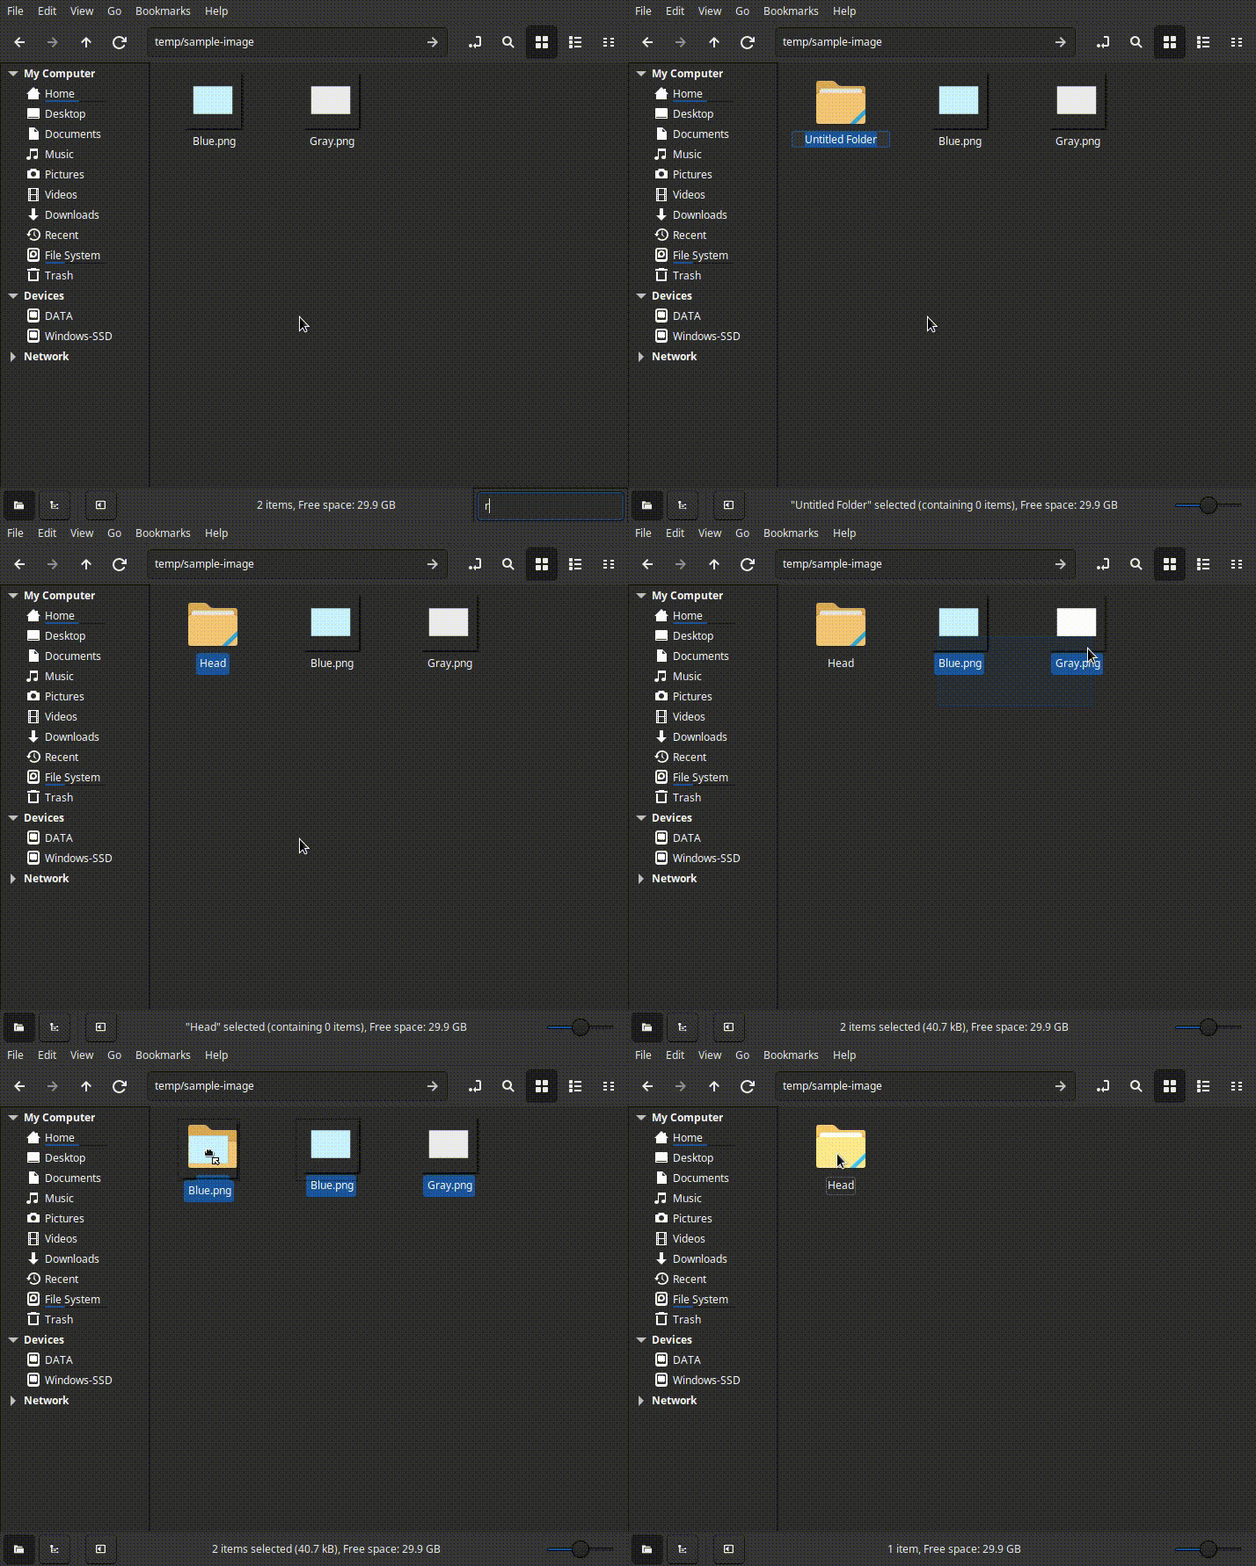
Our first layer image is ready, next is we have to group them in a folder. Let’s create one and name it as Head. After that, move the images into that folder.
More Layers
One layer is not enough since we are combining image. So let’s create some images for another layer.
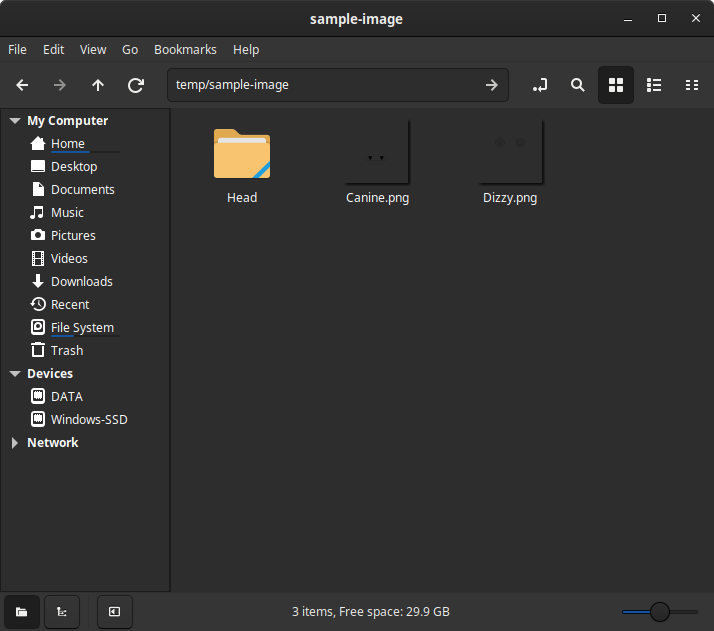
We are going to put Canine.png into Mouth folder and Dizzy.png into Eyes folder.
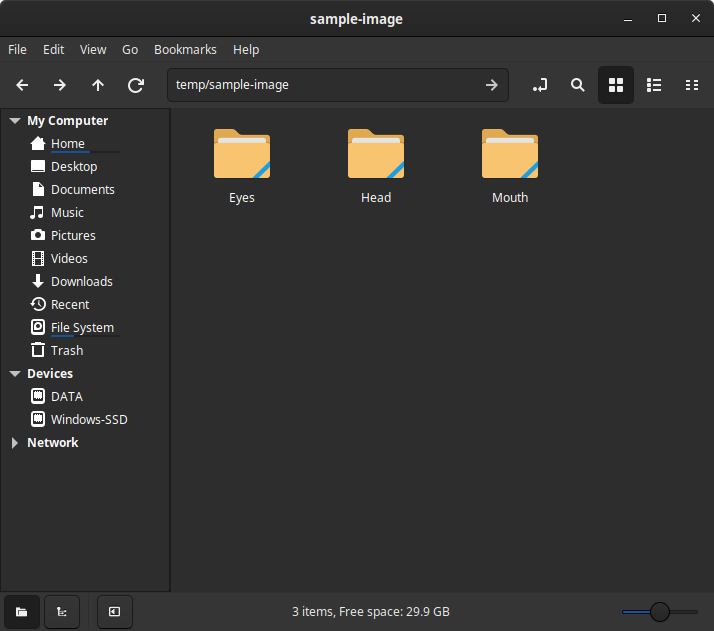
Configuration
The next step is we have to move all folders into layers directory which should be at the same location
with pic.
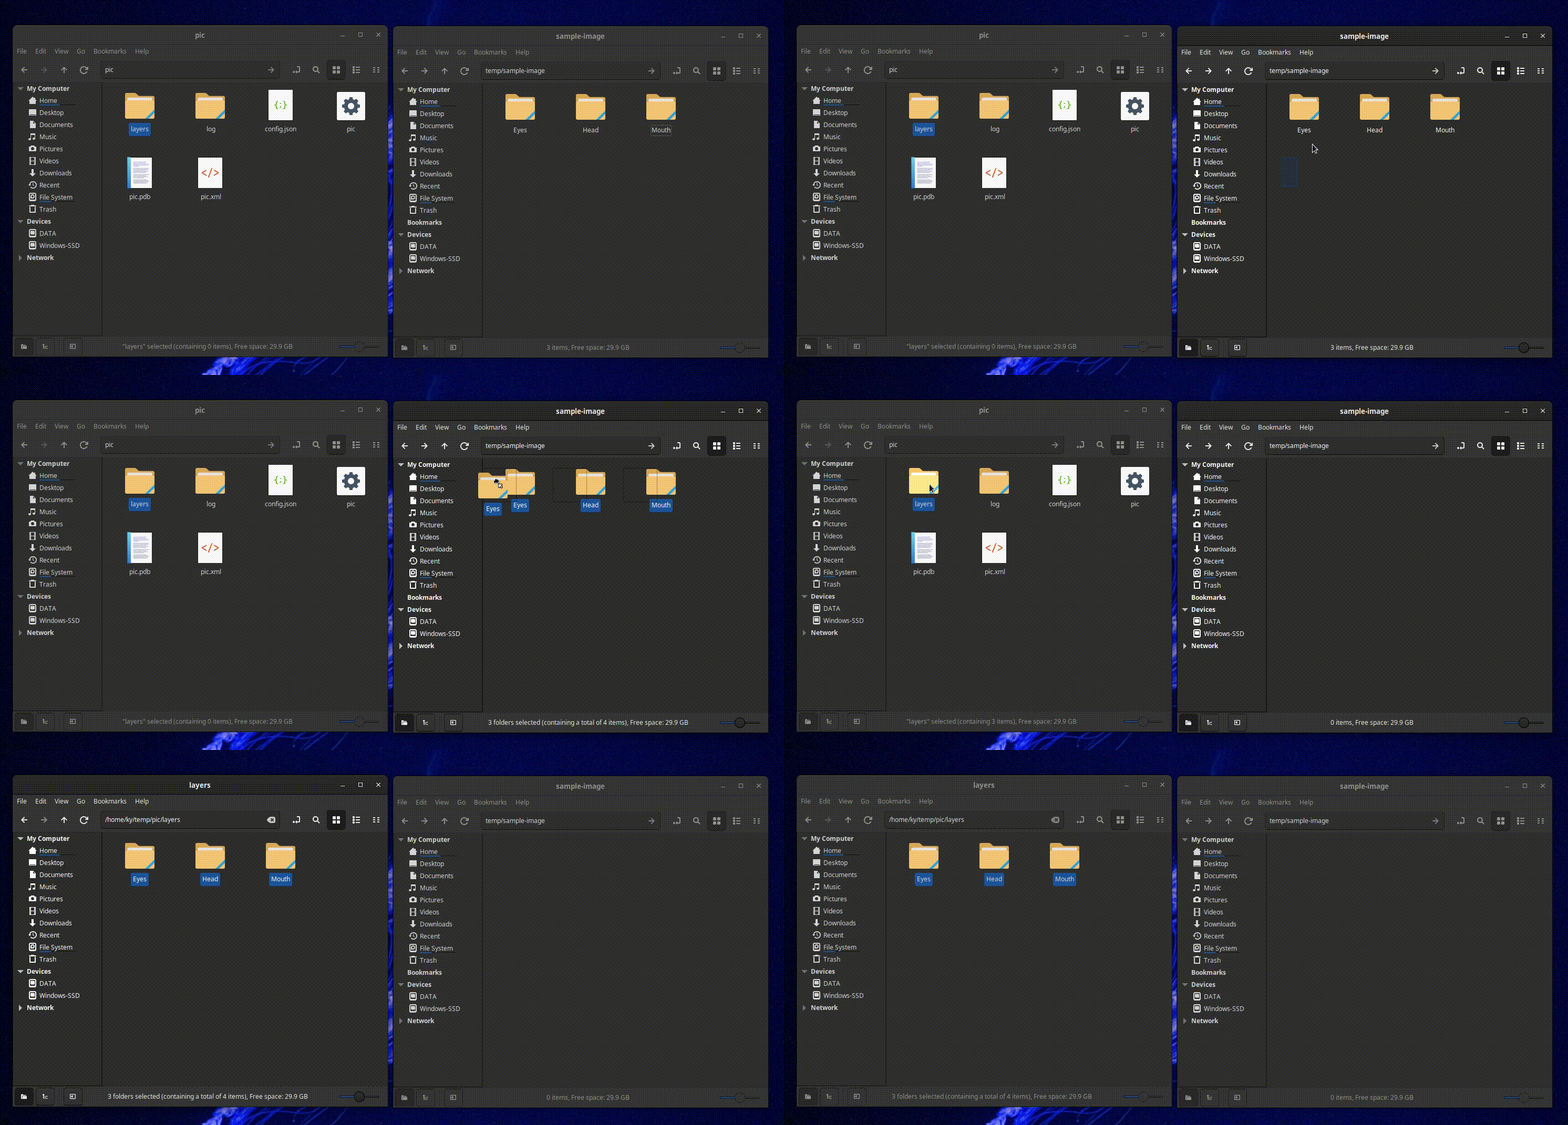
Now we need to update config.json to include the new folder name and also empty the distribution. For demo purpose, we will only generate 2 images.
{
  "name": "Gambar",
  "amount": 2,
  "batchSize": 4,
  "startTokenId": 1,
  "width": 1000,
  "height": 1000,
  "outputDirectory": "output",
  "unique": false,
  "layers": [
    "Head",
    "Eyes",
    "Mouth"
  ],
  "distribution": {}
}
Now, let’s execute the tool!
Windows: Double click pic.exe
Linux/Mac: In the terminal go to pic directory then type
./picand press Enter
As always, pic will update the distribution in the config.json if it’s empty. Check our
configuration now.
{
  "name": "Gambar",
  "amount": 2,
  "batchSize": 4,
  "startTokenId": 1,
  "width": 1000,
  "height": 1000,
  "outputDirectory": "output",
  "unique": false,
  "layers": [
    "Head",
    "Eyes",
    "Mouth"
  ],
  "distribution": {
    "Eyes": {
      "layers/Eyes/Dizzy.png": 0
    },
    "Head": {
      "layers/Head/Blue.png": 0,
      "layers/Head/Gray.png": 0
    },
    "Mouth": {
      "layers/Mouth/Canine.png": 0
    }
  }
}
Our image has been included in the configuration automatically, that means pic will use them to create
combination. You can continue to tweak the number and execute the tool. Have fun!